Concrete Slab Removal in Tight or Elevated Spaces
Got a small concrete slab in a tight or elevated spot? Learn how we safely break, haul, and dispose of it, what affects cost, and when DIY removal isn’t worth the risk.
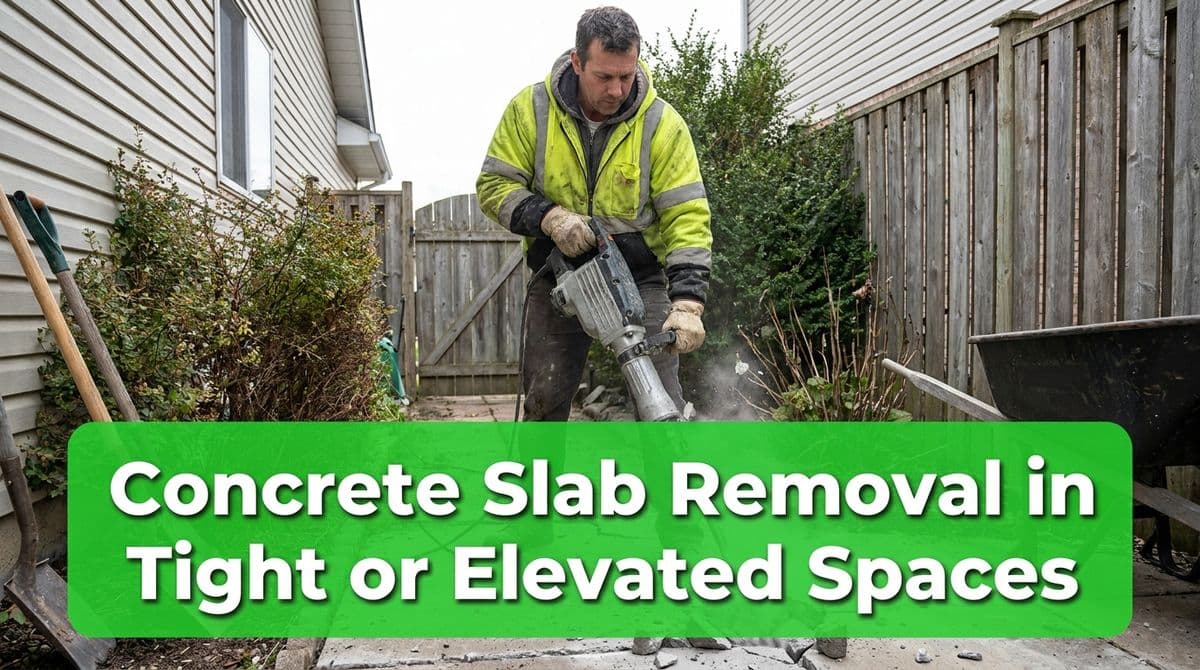
Concrete Slab Removal in Tight or Elevated Spaces
We recently got a call from a homeowner – let’s call her Sara – who had just bought a house with a terraced backyard. On the upper tier, about six feet above the main yard, she discovered an old concrete “marker” slab, roughly 5 feet by 2 feet and a few inches thick.
She’d already tried to tackle it herself with a rotary hammer and chisel, drilling a line of holes and hammering away. The slab barely budged. That’s when she told us, “I think it’s time to call in the big guns.”
Her situation is common: a small slab in a tight or elevated area that you can easily walk to, but that’s tricky for heavy tools and hauling. Here’s how we look at jobs like this, what affects the cost, and when DIY starts to become unsafe or impractical.
Why Elevated Slabs Are Tougher Than They Look
A 5' x 2' x 4–5" concrete slab doesn’t sound huge, but it can easily weigh 600–700 pounds as one solid piece. On a raised terrace or upper patio, that weight becomes a real problem.
With Sara’s project, the slab was on a second level behind a rock retaining wall, about six feet up. We couldn’t just roll a wheelbarrow right next to it and pry it up whole. To get it out safely, we needed to break it into manageable chunks and then find a controlled path down to the driveway or street.
That combination of weight + height + limited access is exactly what drives how we plan and price these jobs.
How We Remove Small Slabs in Tight or Raised Areas
For slabs like Sara’s, we usually follow a simple step-by-step process:
1. Assess Access and Safety
Before we quote anything firm, we’ll have you send photos or a quick video showing:
- How we get from the street/driveway to the slab
- Any stairs, narrow gates, or tight turns
- How high the terrace or raised area is
From her description and photos, we knew we could walk up to the slab easily and use hand tools and a jackhammer safely on that upper level.
2. Break the Slab Into Pieces
We bring our own electric jackhammer and heavy-duty chisels. The goal is to turn one 600–700 lb chunk into several pieces that each weigh 80–150 lbs – heavy, but safely liftable for our crew.
Often that means:
- Scoring or drilling a few key lines if needed
- Jackhammering along those lines to “snap” the slab
- Aiming for 2–4 main pieces instead of a pile of rubble
In Sara’s case, we told her we’d probably break it into two or three main chunks so we could load them on a dolly or into a wheelbarrow.
3. Haul the Concrete Out
Once the slab is in manageable pieces, we:
- Load pieces onto a dolly or into a wheelbarrow
- Carefully navigate any steps, slopes, or tight paths
- Stage the concrete at the truck or trailer for disposal
If there are additional loose chunks nearby, we can haul those at the same time. For Sara, she had about the same area again (roughly 2' x 5' worth of broken pieces). We explained that, since they were already in small, pick-up-able chunks, we’d likely add around $250 to take those too.
What Typically Affects the Cost
When Sara asked for a ballpark over the phone, we walked her through the main things that influence price for elevated or hard-to-access slabs:
- Size and thickness: A 5' x 2' x 4–5" slab like hers usually falls in the $500+ range for us to break up, haul, and dispose of, assuming access is reasonable.
- Access and distance: The more stairs, tight corners, or long carries between the slab and the truck, the more labor time we have to build in.
- Height above ground: A terrace six feet up is one thing; a second-story balcony with no clear path is another. Special rigging or chutes will increase cost.
- Disposal volume: Extra piles of broken concrete usually add a flat amount or small surcharge, depending on how much there is.
- Obstacles and protection: Landscaped beds, fragile decking, or tight masonry walls may require extra time and materials to protect.
We usually start with a phone estimate, then refine it once we’ve seen photos. That keeps surprises to a minimum for both of us.
DIY vs. Hiring Pros: Where It Becomes Unsafe
Sara had already tried the DIY route with a rotary hammer and chisel, drilling holes in a row and trying to break the slab along the line. That’s a common first step, and sometimes it works – but here’s where we see DIY become unsafe or impractical:
- Tools lack power: Consumer-grade rotary hammers often can’t keep up with dense or older concrete, especially outdoors where you have a full slab, not just a small patch.
- No plan for heavy pieces: Even if you manage to break the slab, each piece can easily weigh over 100 lbs. Carrying that weight down stairs or off a terrace is where backs get injured and concrete gets dropped.
- Risk to retaining walls and terraces: Aggressive prying can crack nearby masonry or destabilize a small retaining wall.
- Limited disposal options: A car trunk full of concrete isn’t fun, and some facilities won’t take mixed loads with soil and debris.
If your slab is raised, near a drop-off, or heavier than you can comfortably lift, it’s usually more cost-effective – and safer – to have a crew with the right tools and disposal setup handle it.
How to Get a Clear Estimate for Your Slab
If you’re staring at a stubborn slab in a tight or elevated spot, here’s the easiest way to get a realistic number:
- Measure the slab (length, width, and approximate thickness).
- Take photos from several angles, including the path from the street to the slab.
- Note the height above ground and any stairs, gates, or obstacles.
- Let us know about any extra concrete chunks you’d like hauled away at the same time.
With that information, we can usually give you a ballpark range over the phone or by text, and then confirm or fine-tune once we see everything clearly.
Whether it’s an old pet marker like Sara’s or a forgotten pad from a past project, we’re happy to talk through your options and help you decide if it’s a weekend DIY job – or one where calling in the big guns makes a lot more sense.